
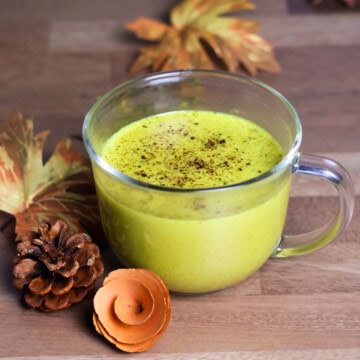
Homemade raw kefir is a nutrient-dense, probiotic-rich drink that is super easy to make! Choose your raw milk, fresh from a local farm, or use a vegan milk like full-fat coconut milk. I will show you how to make it with kefir grains, kefir starter, or even your probiotic supplement of choice! It takes 2 minutes to prep and 2 days to ferment- then enjoy!

In my opinion, when making kefir, using raw milk offers the most health benefits. It is packed with vitamins, minerals, and enzymes that benefit the digestive system.
Pasteurized milk relies on heat that can destroy valuable enzymes and denature nutrients. Raw means that foods have not been heated over 115°F. It is believed that keeping temperatures below 115°F preserves enzymes and nutrients.
Fermenting food further improves the digestibility and absorbability of these nutrients and infuses the gut microbiome with probiotic cultures, or good bacteria.
Improving gut health is one of the most valuable things you can do for your body! For more on gut health, check out: Colon Broom vs Metamucil vs Psyllium Husk, Best Probiotics for Histamine Intolerance, or Garlic Honey Ferment.
⚡ Quick Look: Raw Kefir Recipe
- Main Benefits: Packed with probiotics, enzyme-rich, supports gut health and digestion
- ⏱️ Prep Time: 2 minutes
- 🧪 Fermenting Time: 2 days
- 🥤 Yield: 2 servings (approx. 16 oz)
- 🌿 Skill Level: Easy
- 🍶 Main Ingredients: 16 oz raw milk (or full-fat coconut/almond milk), ½ teaspoon kefir starter (or kefir grains/probiotic capsule)
- 🌞 Best Time to Use: Drink in the morning or between meals to support your microbiome
- 🏺 Storage: Refrigerate after fermenting; best consumed within 7 days
- 💡 Pro Tip: Use a wooden or silicone spoon (avoid metal!) and cover with cheesecloth in a warm, dark spot for best fermentation
Summarize & Save This Content On
Jump to:
💛 Why You'll Love It
- Rich in probiotics: supports gut health, digestion, and your microbiome
- Enzyme-rich and nutrient-dense when made with raw milk or full-fat plant-based alternatives
- Simple to prepare: only a few minutes to prep + 24-48 hrs fermentation
- Naturally gluten-free and dairy-free (when using coconut or almond milk) - perfect for your clean-eating lifestyle
- Homemade version gives you full control over quality and ingredients
- Works as a base for smoothies, breakfast bowls, or a nourishing snack
Ingredients
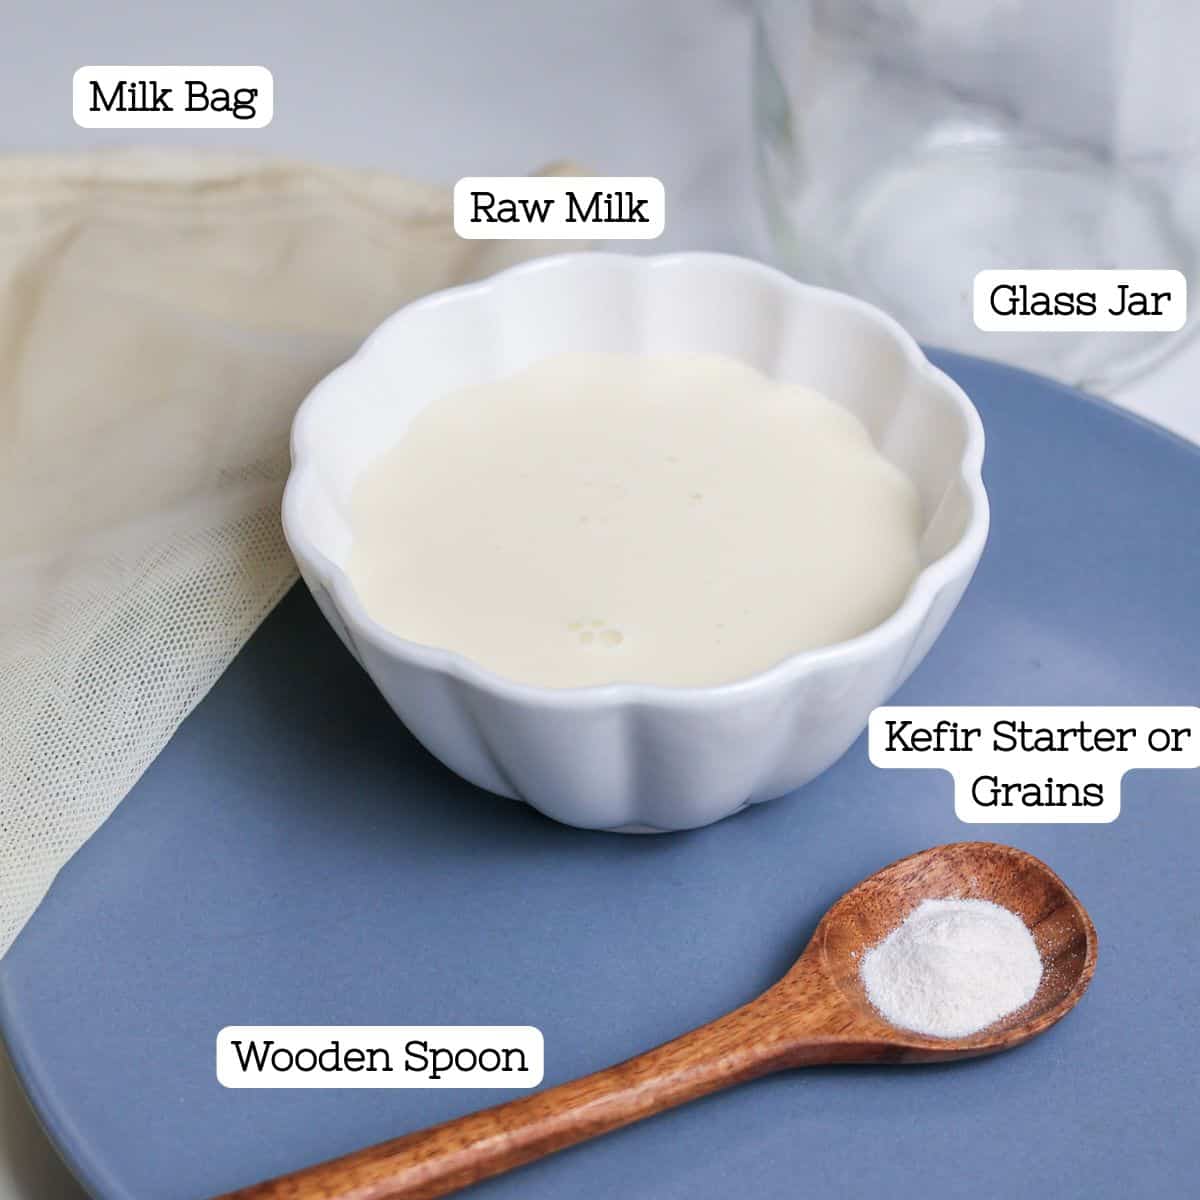
Raw Milk: Raw dairy or goat milk has many potential benefits. It also works well with probiotics and fermentation. For a dairy-free option, I also like to use full-fat coconut milk, cashew milk, or almond milk to make raw kefir.
Kefir Grains or Kefir Starter: Using kefir grains will likely produce the most robust probiotic strains. However, kefir grains take some time and nurturing, including feeding and caring for them frequently. If you do not have access to kefir grains, a kefir starter works quite well and is extremely good for you. Learn more in our article: Kefir Starter vs Kefir Grains.
Another option is to open a probiotic capsule into your milk. This is convenient and allows you to choose the strains that you want to populate your milk. This helps especially for those who have histamine intolerance and want to seek out probiotics for histamine intolerance.
Hint: If you use a probiotic supplement, I have found that it works best if you get live cultures from probiotic brands that must be refrigerated.
Using Kefir Grains
You have a choice of milk and a choice of starters. In the recipe below, I used a probiotic capsule. Kefir starter also works well. There is no difference in the method between these two options.
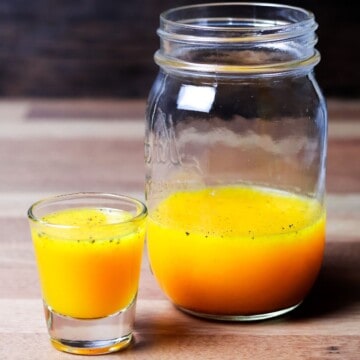
However, if you use kefir grains, there is an extra step to strain out the grains once your kefir is ready, using a non-metal fine mesh strainer or cheese cloth/milk bag. Once you strain, preserve the grains. There are a few ways to do this. The best is to make a new batch by putting the grains into a new glass of milk.
After straining your finished kefir, your grains are ready for their next batch-but how you care for them in between makes a big difference in their health and strength.
Always place them directly into fresh milk right after straining. This keeps them well-fed and active, which is essential since kefir grains are living cultures that thrive on the natural sugars (lactose) in milk.
If you're making raw kefir daily, just move the grains into a new clean jar with fresh milk, cover loosely, and let them ferment at room temperature. For short breaks (up to a week), store the grains in a small jar of fresh milk in the fridge. Replace the milk every 5-7 days to prevent them from starving.
How to Make Raw Kefir
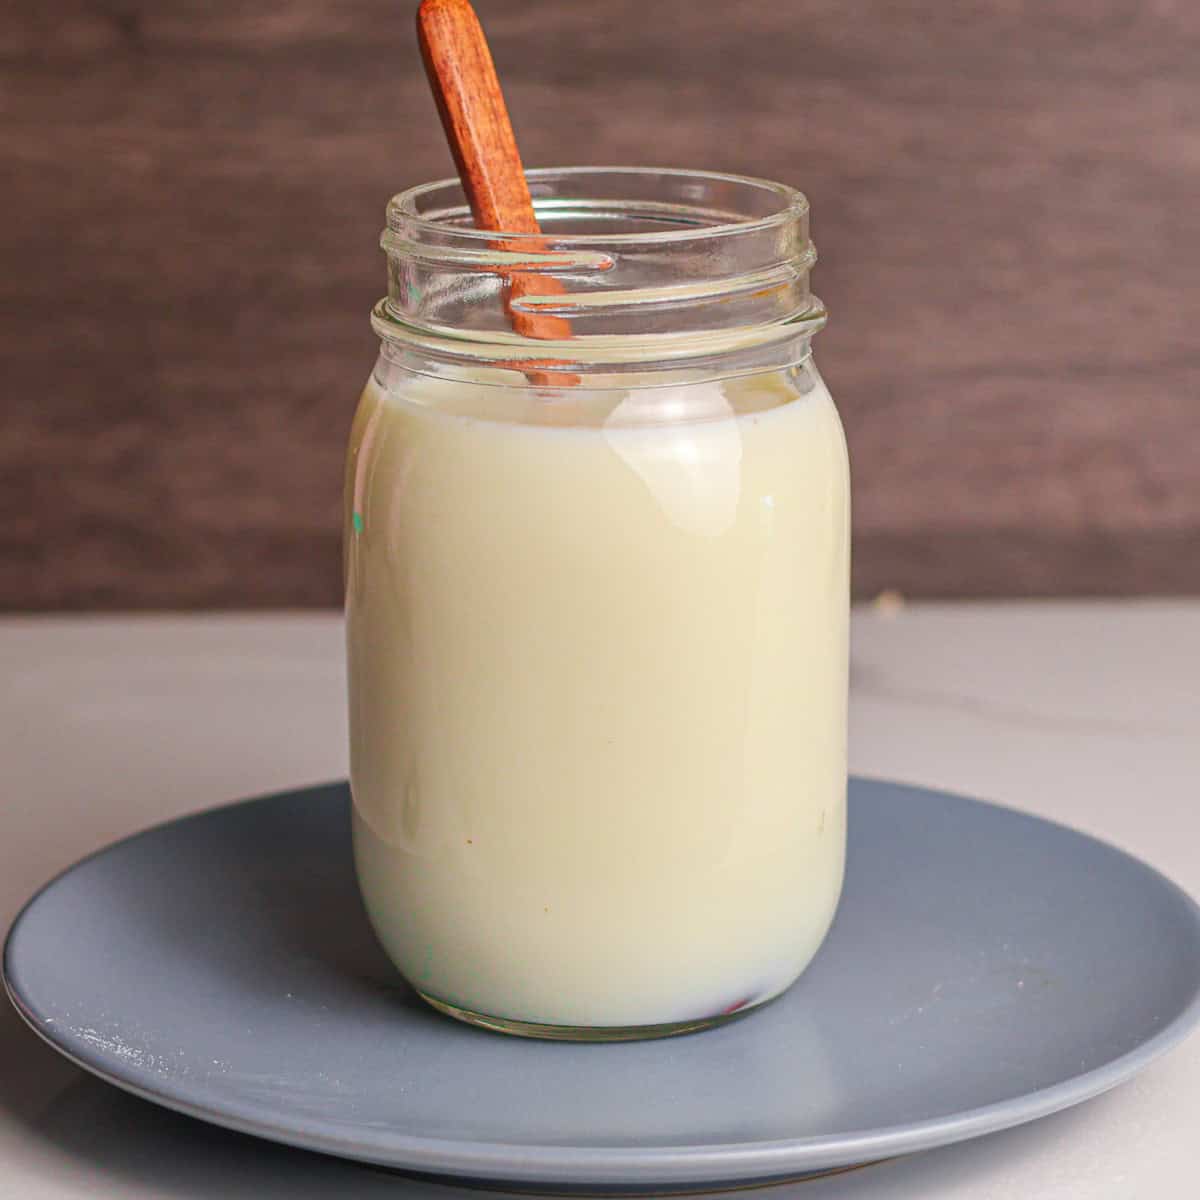
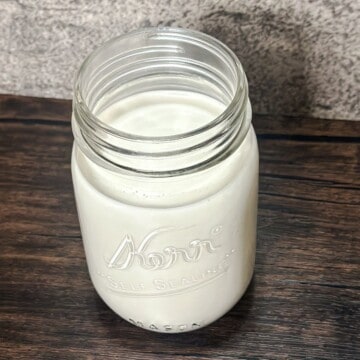
Step 1: Pour Milk into a glass jar. Add your kefir grains or starter and stir with a wooden or plastic spoon. Metal can deactivate the probiotics and hinder the process. Always use a wooden spoon to stir.
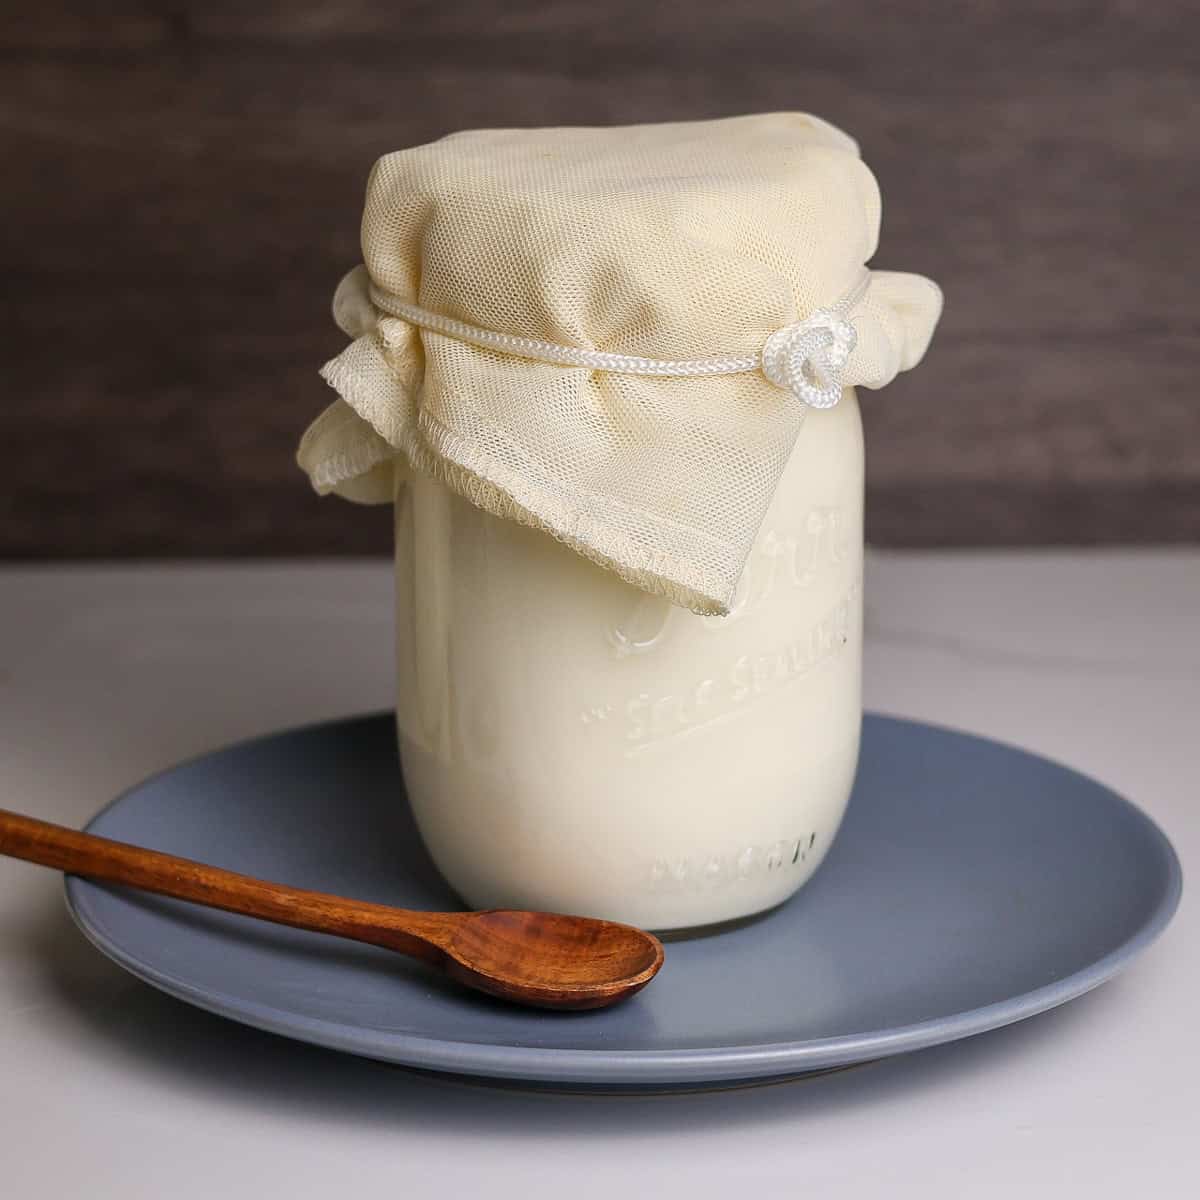
Step 2: Cover your raw kefir with a cheesecloth, milk bag, or paper bag and a rubber band. Do not put the metal lid back on your mason jar! Set your jar in a room-temperature area that is slightly warm for 24-48 hours. Then check it, stir again, and place it in the refrigerator for up to 7 days. It will show signs of slight thickening and possibly a little curdling and have a tangy taste similar to yogurt.
Hint: Once your raw kefir is done fermenting, put it in the fridge! Unsweetened is best, in my opinion, but if you'd like, you can add some pure monk fruit to sweeten and even some fruit. However, adding raw honey or maple syrup can counteract the positive benefits of probiotics due to their antibiotic properties.
Expert Tips
Placing your raw kefir on top of the fridge can work, especially if it is cold out. The fridge top is slightly warm and may help support fermentation. Find a place in your home that is warm but not too hot.
If you have an Instant Pot with a yogurt setting, this may help speed the process slightly! Add the trivet and a cup of water to the basin and leave it there for 8-24 hours. The longer you leave it, the tangier it will be.
Raw Kefir FAQ's
Raw kefir is fermented milk made from unpasteurized milk. To be considered raw, the contents cannot be heated higher than 115°F
Some people take a sip or two of raw kefir in the morning before breakfast and a sip or two in the evening before bed. Others drink a glass (8oz) 1-2 times daily. This recommendation varies widely depending on your gut health needs.
More on Gut Health


Love this Raw Kefir Recipe? Let us know how it went in the comments 👇and give it a 🌟 review! Don't forget to subscribe for all the latest healthy recipes!
Recipe

Raw Kefir Recipe
Equipment
- 1 mason jar no lid
- 1 Wooden spoon non-metal spoon
- 1 cheesecloth or milk bag
Ingredients
- 16 oz raw milk can use dairy, goat milk, or vegan milk like full fat coconut milk
- ½ teaspoon kefir starter can use kefir grains or break open a live probiotic capsule
Instructions
- Pour milk into a glass jar. Add kefir starter or grains.
- Stir with a non-metal spoon. Cover with a cheesecloth and secure. Do not use a metal lid.
- Place in a dark, dry area that is slightly warm. Top of the fridge may work. Let sit for 24-48 hours. Check and stir. It should have a tangy taste and slightly thickened. **If you are using kefir grains, strain your grains through a cheesecloth or non-metal fine mesh strainer.
- Once it has fermented to your satisfaction, place it in the refrigerator for up to 7 days.
Video

Raina J Gates says
I've been using organic milk from the store for years for my grains and have been trying to switch to raw milk slowly for a couple months now. Every time I get to the point of using 1/2 store milk and 1/2 raw milk it won't ferment, it's just runny and not pleasant tasting like it was when I used store milk. Any tips?
Natalie Perry says
Likely the natural bacteria in the raw milk is conflicting with the starter. Are you using kefir grains or kefir starter? Try switching it up a bit. If you are using the grains, try using them with the store milk first before the raw milk. How long are you allowing it to ferment? Perhaps it needs a little longer-or a warmer temperature. I like to use an instant pot on yogurt setting or another comparable yogurt maker to keep it a consistent temperature and speed up the process a bit. Let me know how it goes! Good luck!
Natalie says
My family loves this!