
This garlic honey ferment is one of the easiest and most powerful natural remedies to keep in your kitchen. Made with just two ingredients - raw honey and fresh garlic - it supports immunity, gut health, and energy, naturally getting better with time.

When you combine raw honey and garlic, something magical happens. Over time, they ferment naturally, creating a living, enzyme-rich tonic that's delicious and deeply nourishing. My family makes this every year, just ahead of the cold and flu season. We take it at the first sign of illness.
Fermented garlic honey is an ancient home remedy used for immune support, coughs, sore throats, and digestion. The process is simple, safe, and rewarding - and with a few key tips, your batch will last for months.
This version includes optional thyme for respiratory support and a touch of red pepper flakes to warm circulation - perfect for the colder months.
If you love home remedies, try my fire cider recipe, adrenal cocktail recipe, and raw kefir recipe!
Quick Look: Garlic Honey Ferment Recipe
- ⏱️ Prep Time: 10 minutes
- ⌚️Fermenting Time: 3-4 weeks
- 🍯Servings: 16 Tablespoons
- 📝Main Ingredients: Raw honey and garlic + any herbs or spices you desire
- 🌟Difficulty: Easy
- ❤️ Benefits: Boost your immune system during cold and flu season- nature's medicine.
- 🥄How to Take: Consume one tablespoon or a garlic clove per day during cold and flu season or at the first signs of illness.
Summarize and Save This Content On
Jump to:
Why You'll Love It
- Uses only 2 ingredients - no special equipment needed.
- Naturally supports immunity and gut health.
- Long shelf life (it just keeps getting better).
- Soothes sore throats, fights seasonal bugs, and tastes amazing.
- Family-friendly and easy to add to teas, dressings, or marinades.
Ingredients

Raw honey: Naturally antibacterial and antioxidant-rich. It preserves the garlic while feeding beneficial enzymes and probiotics during fermentation. Choose raw, local, unpasteurized honey for the best results.
Fresh garlic cloves: Contain allicin, a powerful immune-supporting compound that helps fight bacteria, viruses, and fungi. Use fresh, firm cloves and avoid pre-peeled garlic for maximum potency. Trust me, it's worth it!
Fresh thyme (optional): Supports the respiratory system and adds a subtle herbal flavor. Use clean, organic sprigs or ones from your garden.
Red pepper flakes (optional): Adds warmth, promotes circulation, and complements the sweetness of the honey. A small pinch is all you need.
Variations and Substitutions
No thyme? Try rosemary, oregano, or sage.
Sensitive to spice? Leave out the red pepper flakes or use a thin slice of ginger instead.
Don't like to chew garlic cloves? Try mincing the garlic instead.
How to Make Garlic Honey Ferment

Step 1: Peel each clove and gently crush it with the flat side of a knife to activate allicin and speed fermentation.
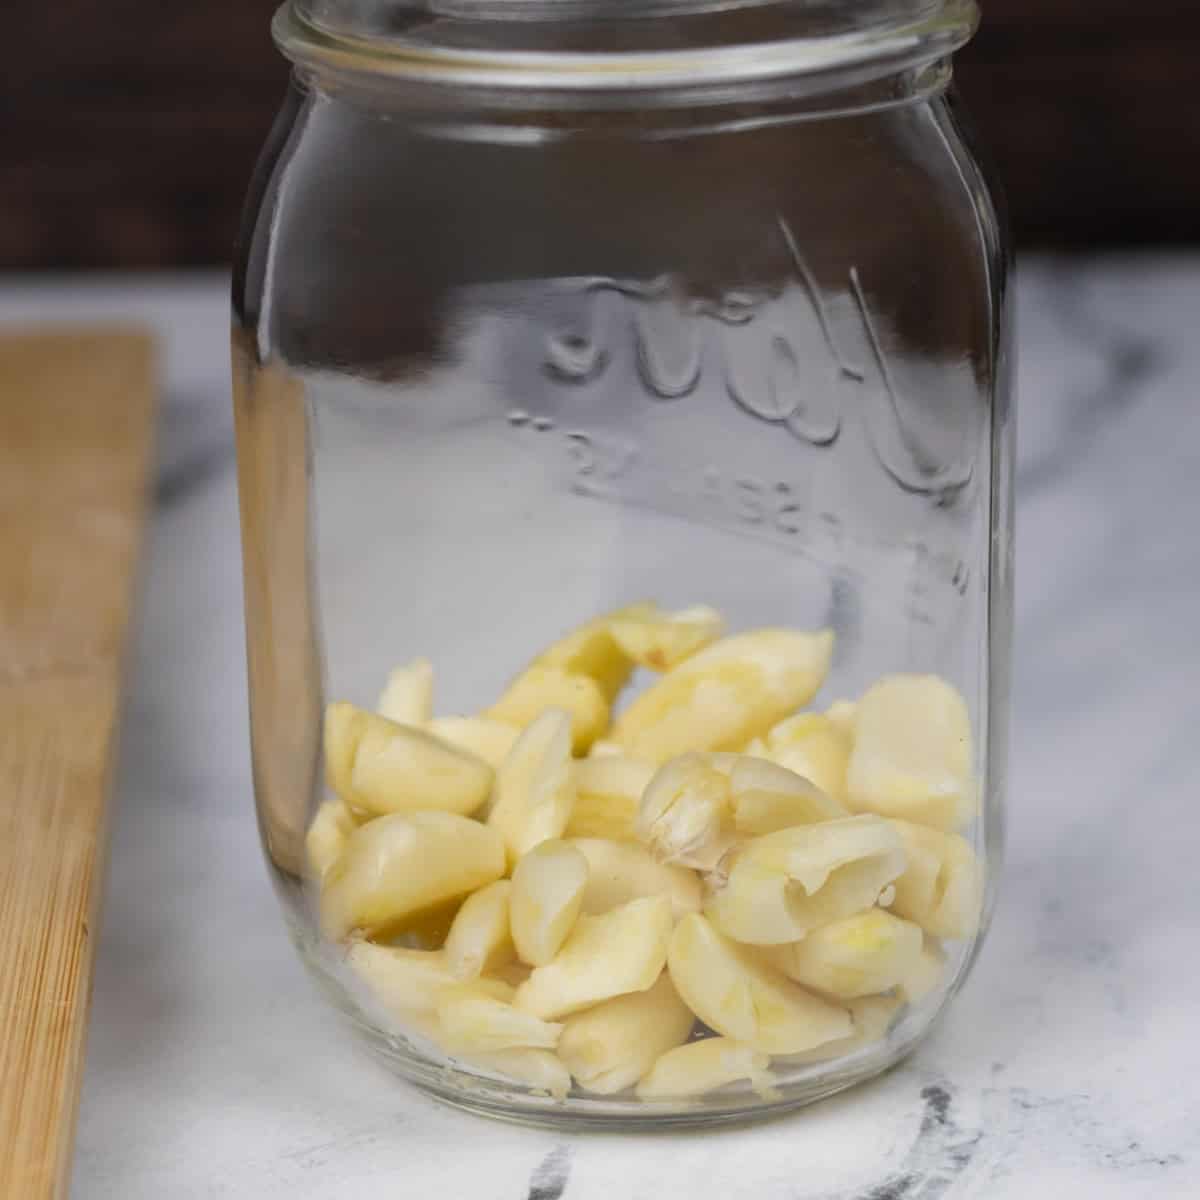
Step 2: Fill the jar halfway with garlic cloves (a pint-size jar works best).
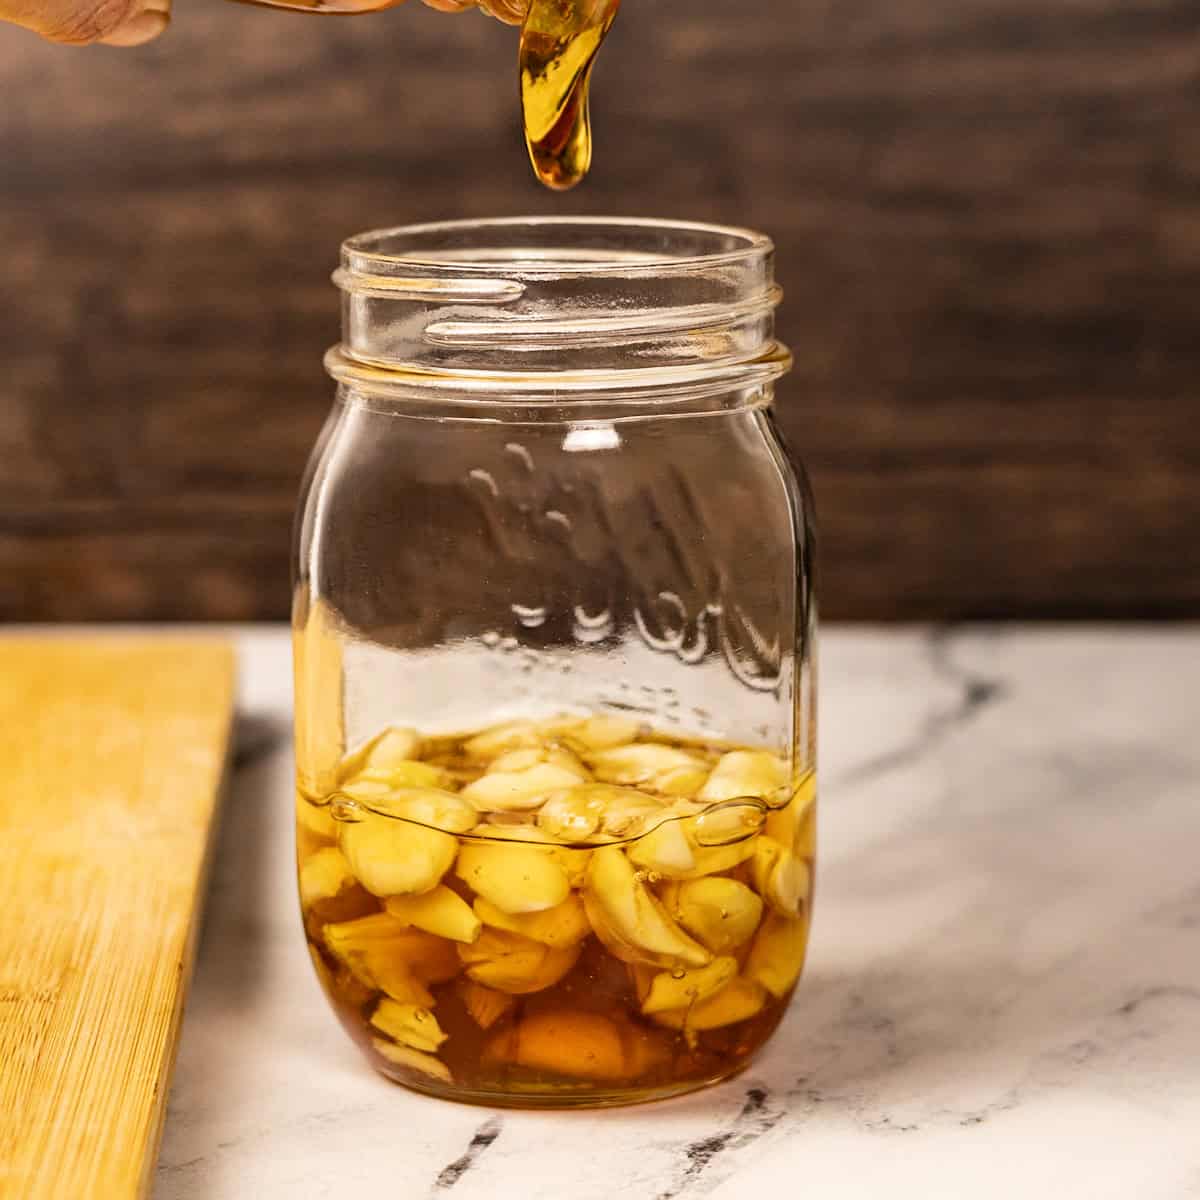
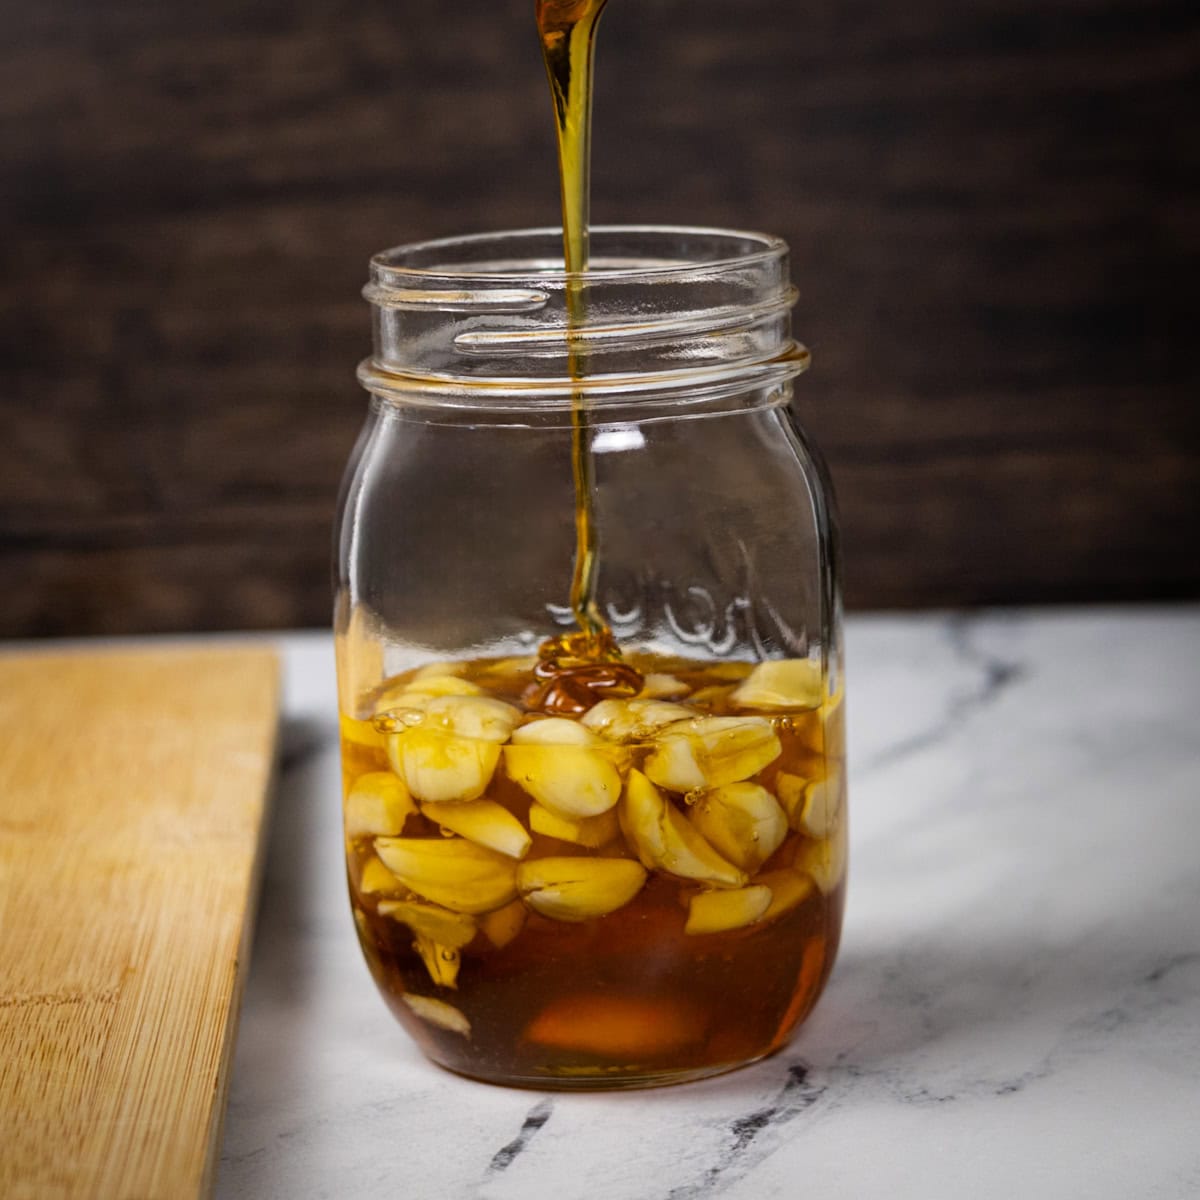
Step 3: Pour raw, unpasteurized honey until all the garlic is submerged, leaving 1-2 inches of headspace.
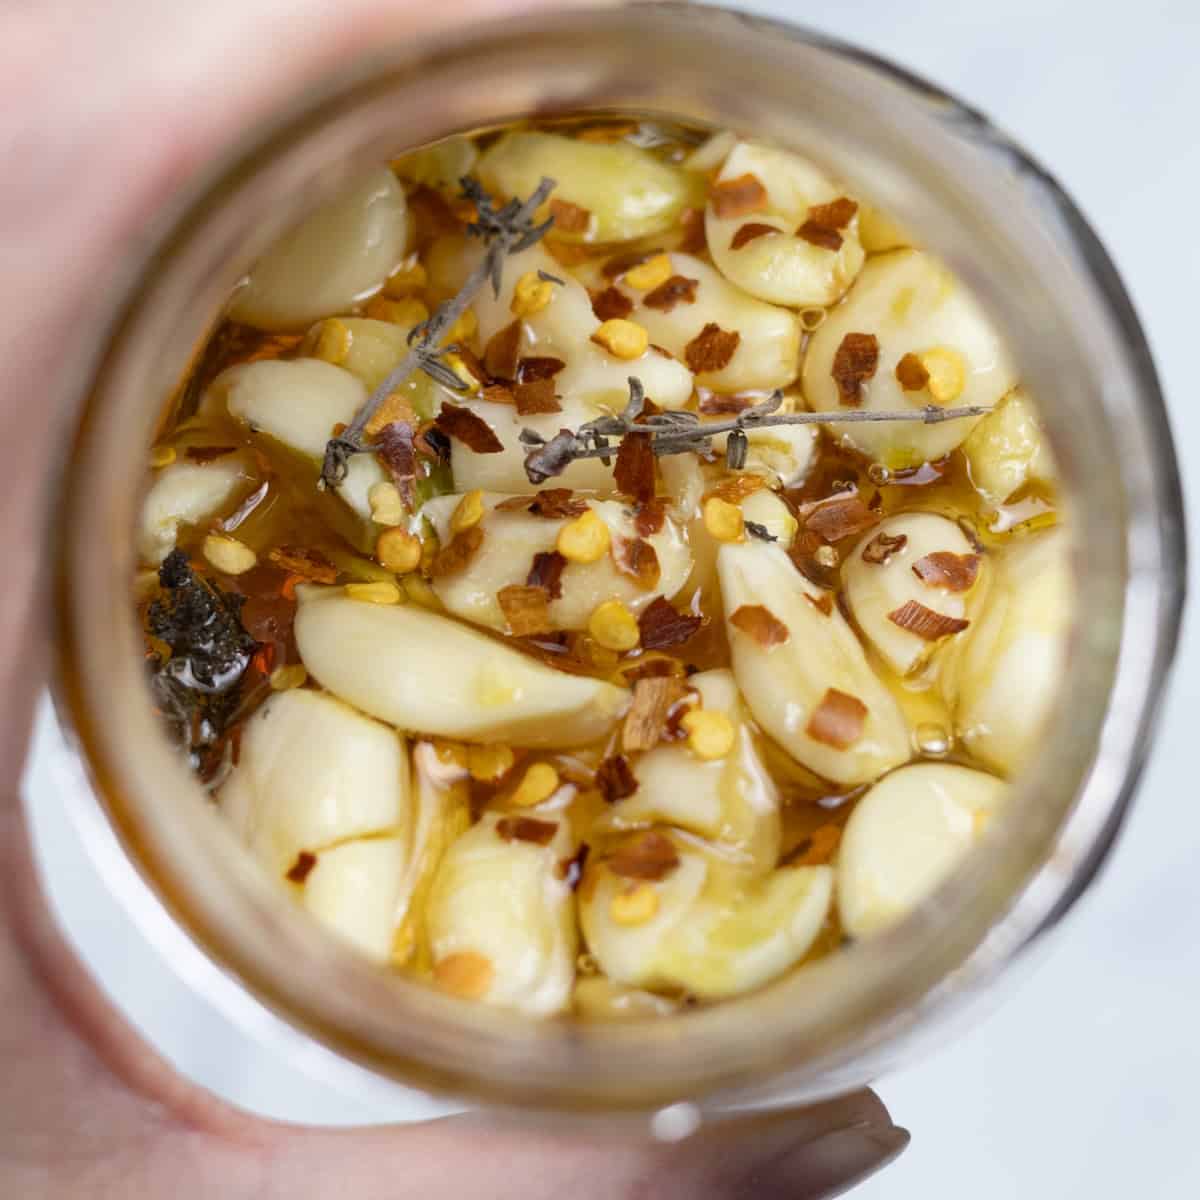
Step 4: Add 1-2 small sprigs of thyme and a pinch of red pepper flakes if desired.
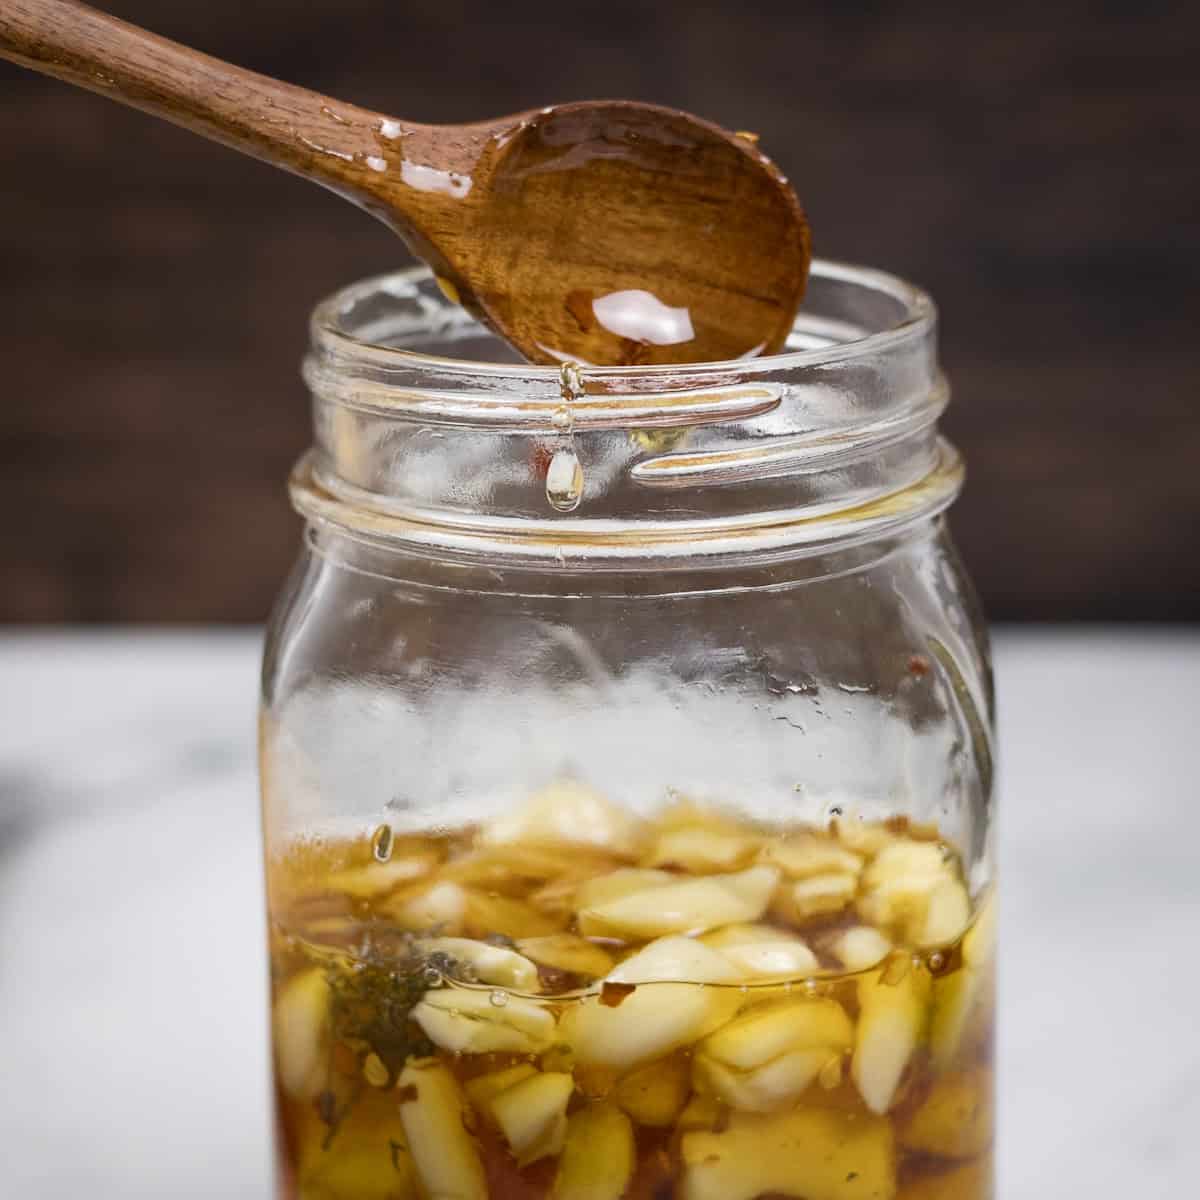
Step 5: Stir gently with a wooden or silicone spoon to coat everything evenly. Avoid metal utensils since they can slightly affect honey's enzymes.
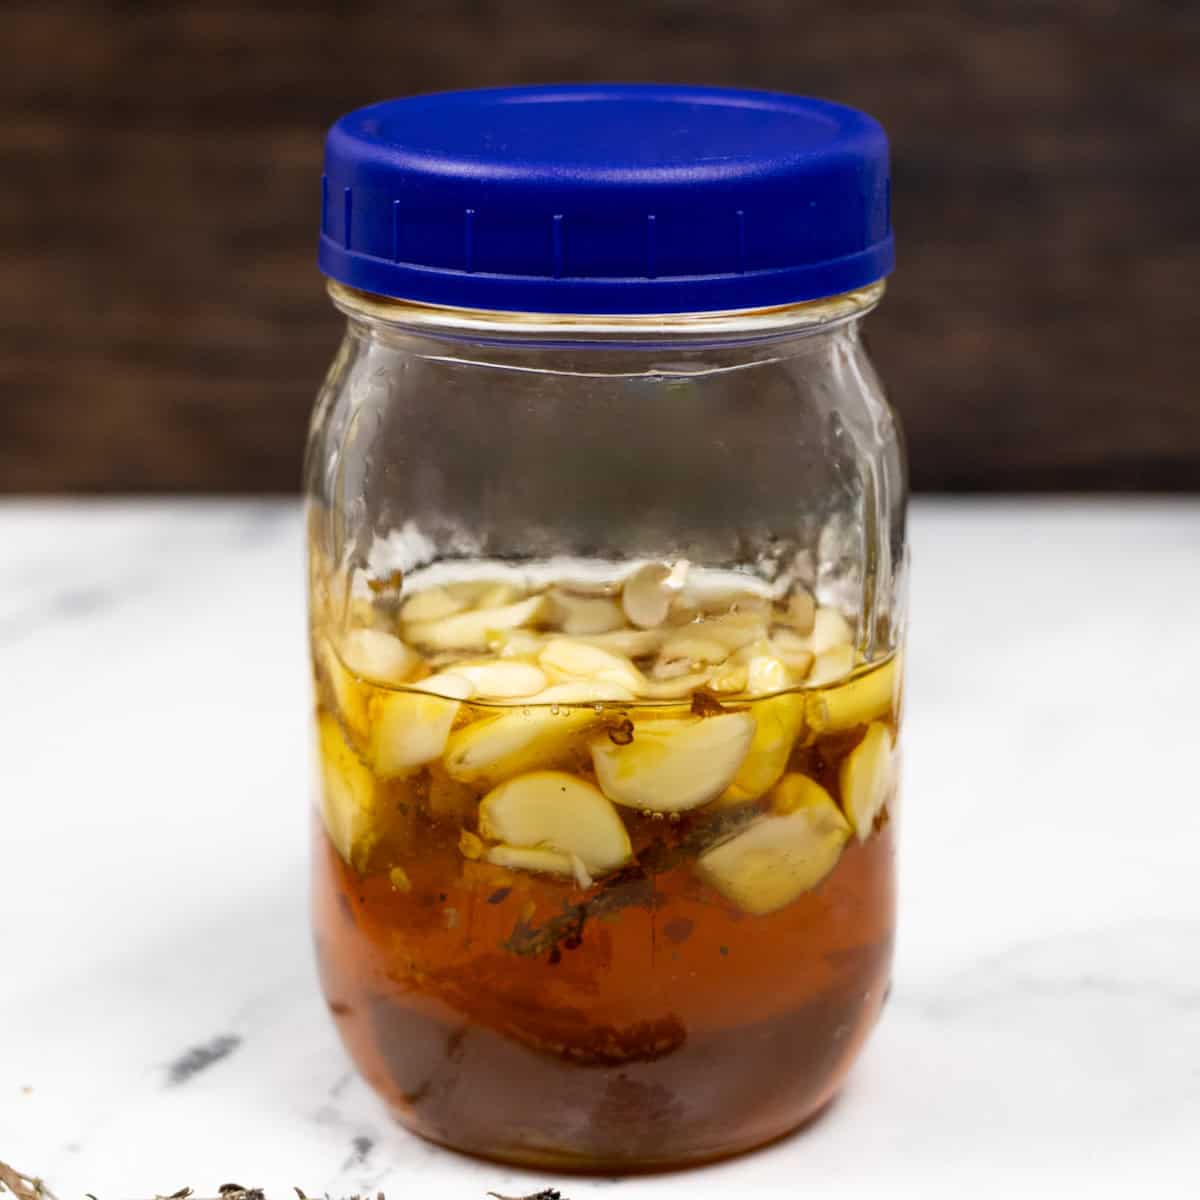
Step 6: Keep the jar in a cool, dark spot. For the first week, open the lid once daily to release gases. After that, burp every few days. The honey will thin, and the garlic will turn golden.
Hint: A mild sulfur smell is completely normal - it's a sign that fermentation is active and healthy.
Expert Tips
Keep it warm enough: Fermentation slows if the room is below 68°F. Ideal range is 70-75°F. Move your jar to a slightly warmer spot if bubbles are slow to appear.
Loosen, don't seal: Keep the lid loose during fermentation so natural gases can escape. Fully tightening the lid traps gas and may cause overflow.
Burp regularly: Open the lid once daily for the first week to release pressure, then every few days after that. A small hiss and mild sulfur smell are both normal signs of activity.
Add a splash of ACV if needed: If you want an extra layer of safety or the environment seems too cool to ferment, add 1 teaspoon of raw apple cider vinegar to slightly increase acidity and encourage beneficial bacteria.
Know your pH: Raw honey is naturally acidic - typically around pH 3.9, which is already in the safe range for fermentation. If you ever test it, a pH below 4.6 ensures safety. (Most honey-garlic ferments naturally stay under 4.0.)
Watch for color and texture changes: The honey should slowly thin, and the garlic should turn golden and soft. If you see mold, odd colors, or smell anything foul (not just garlicky), discard and start fresh.
Avoid metal utensils: Use wooden or silicone spoons when stirring or scooping. Metal can slightly react with honey over time and dull enzymatic activity.
Store for longevity: Once fermentation slows (around 3-4 weeks), you can tighten the lid and store it at room temperature for months, or refrigerate to pause fermentation.
Fermentation Progress Checkpoints (Quick Guide)
| Stage | What’s Happening & What to Do |
|---|---|
| Day 1–3 | More bubbling, garlic may float, and honey loosens more. Fermentation is active — keep the jar around 70–75°F and burp daily. |
| Day 4–7 | Color deepens, bubbles disappear, flavor becomes mellow and rich. Store at room temperature or refrigerate to slow the process. |
| Week 2 | Garlic edges look translucent or golden. Bubbles slow down. Burp every few days and gently swirl jar. |
| Week 3–4 | Garlic soft and golden, honey runny and fragrant. Ferment is ready to use — enjoy by the spoonful or in warm tea. |
| Month 2+ | Color deepens, bubbles disappear, flavor becomes mellow and rich. Store at room temp or refrigerate to slow the process. |
⚠️ Fermentation Safety Note
This recipe naturally stays within a safe acidity range because raw honey has a pH around 3.9, which helps prevent harmful bacteria. Always keep your jar clean, stir with a non-metal spoon, and burp regularly to release pressure. If you prefer extra peace of mind, adding 1 teaspoon of raw apple cider vinegar can further lower pH and support a healthy fermentation environment.
Garlic Honey Ferment FAQs
Your kitchen may be too cool. Move to a warmer spot and stir daily for a few days.
Yes, but that will slow or stop fermentation. Room temperature gives the best results.
Fermented garlic supports immunity, digestion, and gut health. The process makes garlic's compounds more bioavailable, adds natural probiotics, and reduces sharpness so it's easier on the stomach. It helps fight inflammation, bacteria, and viruses while gently boosting overall wellness.
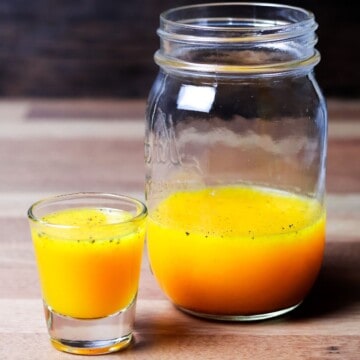
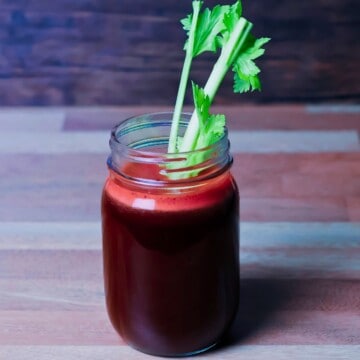
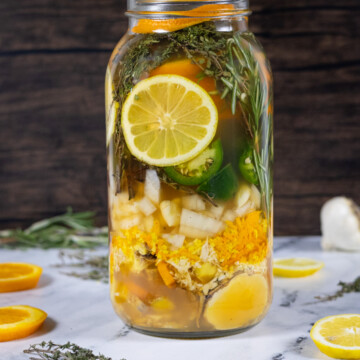
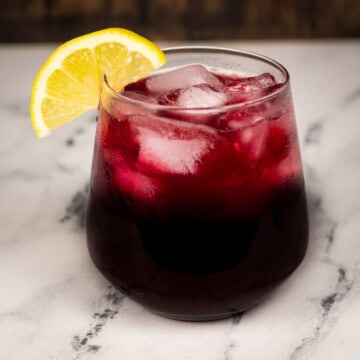
More Functional Drinks
Love this Garlic Honey Ferment? Let us know how it went in the comments 👇and give it a 🌟 review! Don't forget to subscribe for all the latest healthy recipes!
Recipe

Garlic Honey Ferment (Natural Cold Remedy)
Equipment
- Pint-size glass jar
- Wooden or silicone spoon
- Small knife
- cutting board
Ingredients
- 1 cup honey unpasteurized and raw
- 15 garlic cloves peeled and lightly crushed
- 2 sprigs fresh thyme optional
- ¼ teaspoon red pepper flakes optional
Instructions
- Peel each clove and gently crush with the side of a knife to release juices and activate allicin.
- Place garlic in a clean glass jar, filling it about halfway.
- Pour raw honey over the garlic until fully submerged, leaving 1-2 inches of space at the top.
- Add thyme sprigs and red pepper flakes if using.
- Stir gently with a wooden or silicone spoon to coat the garlic completely. Avoid metal utensils for best fermentation.
- Loosely cover and store in a cool, dark place. Burp daily for the first week by briefly opening the lid to release gases. After that, burp every few days.
- After a few days you will notice bubbles or foam. This indicates it is on the right track. In 3-4 weeks, the honey will become thinner, and the garlic soft and golden. It's ready to use.
Video


Natalie says
This is our go to cold remedy all year long.